PiCAN Manual
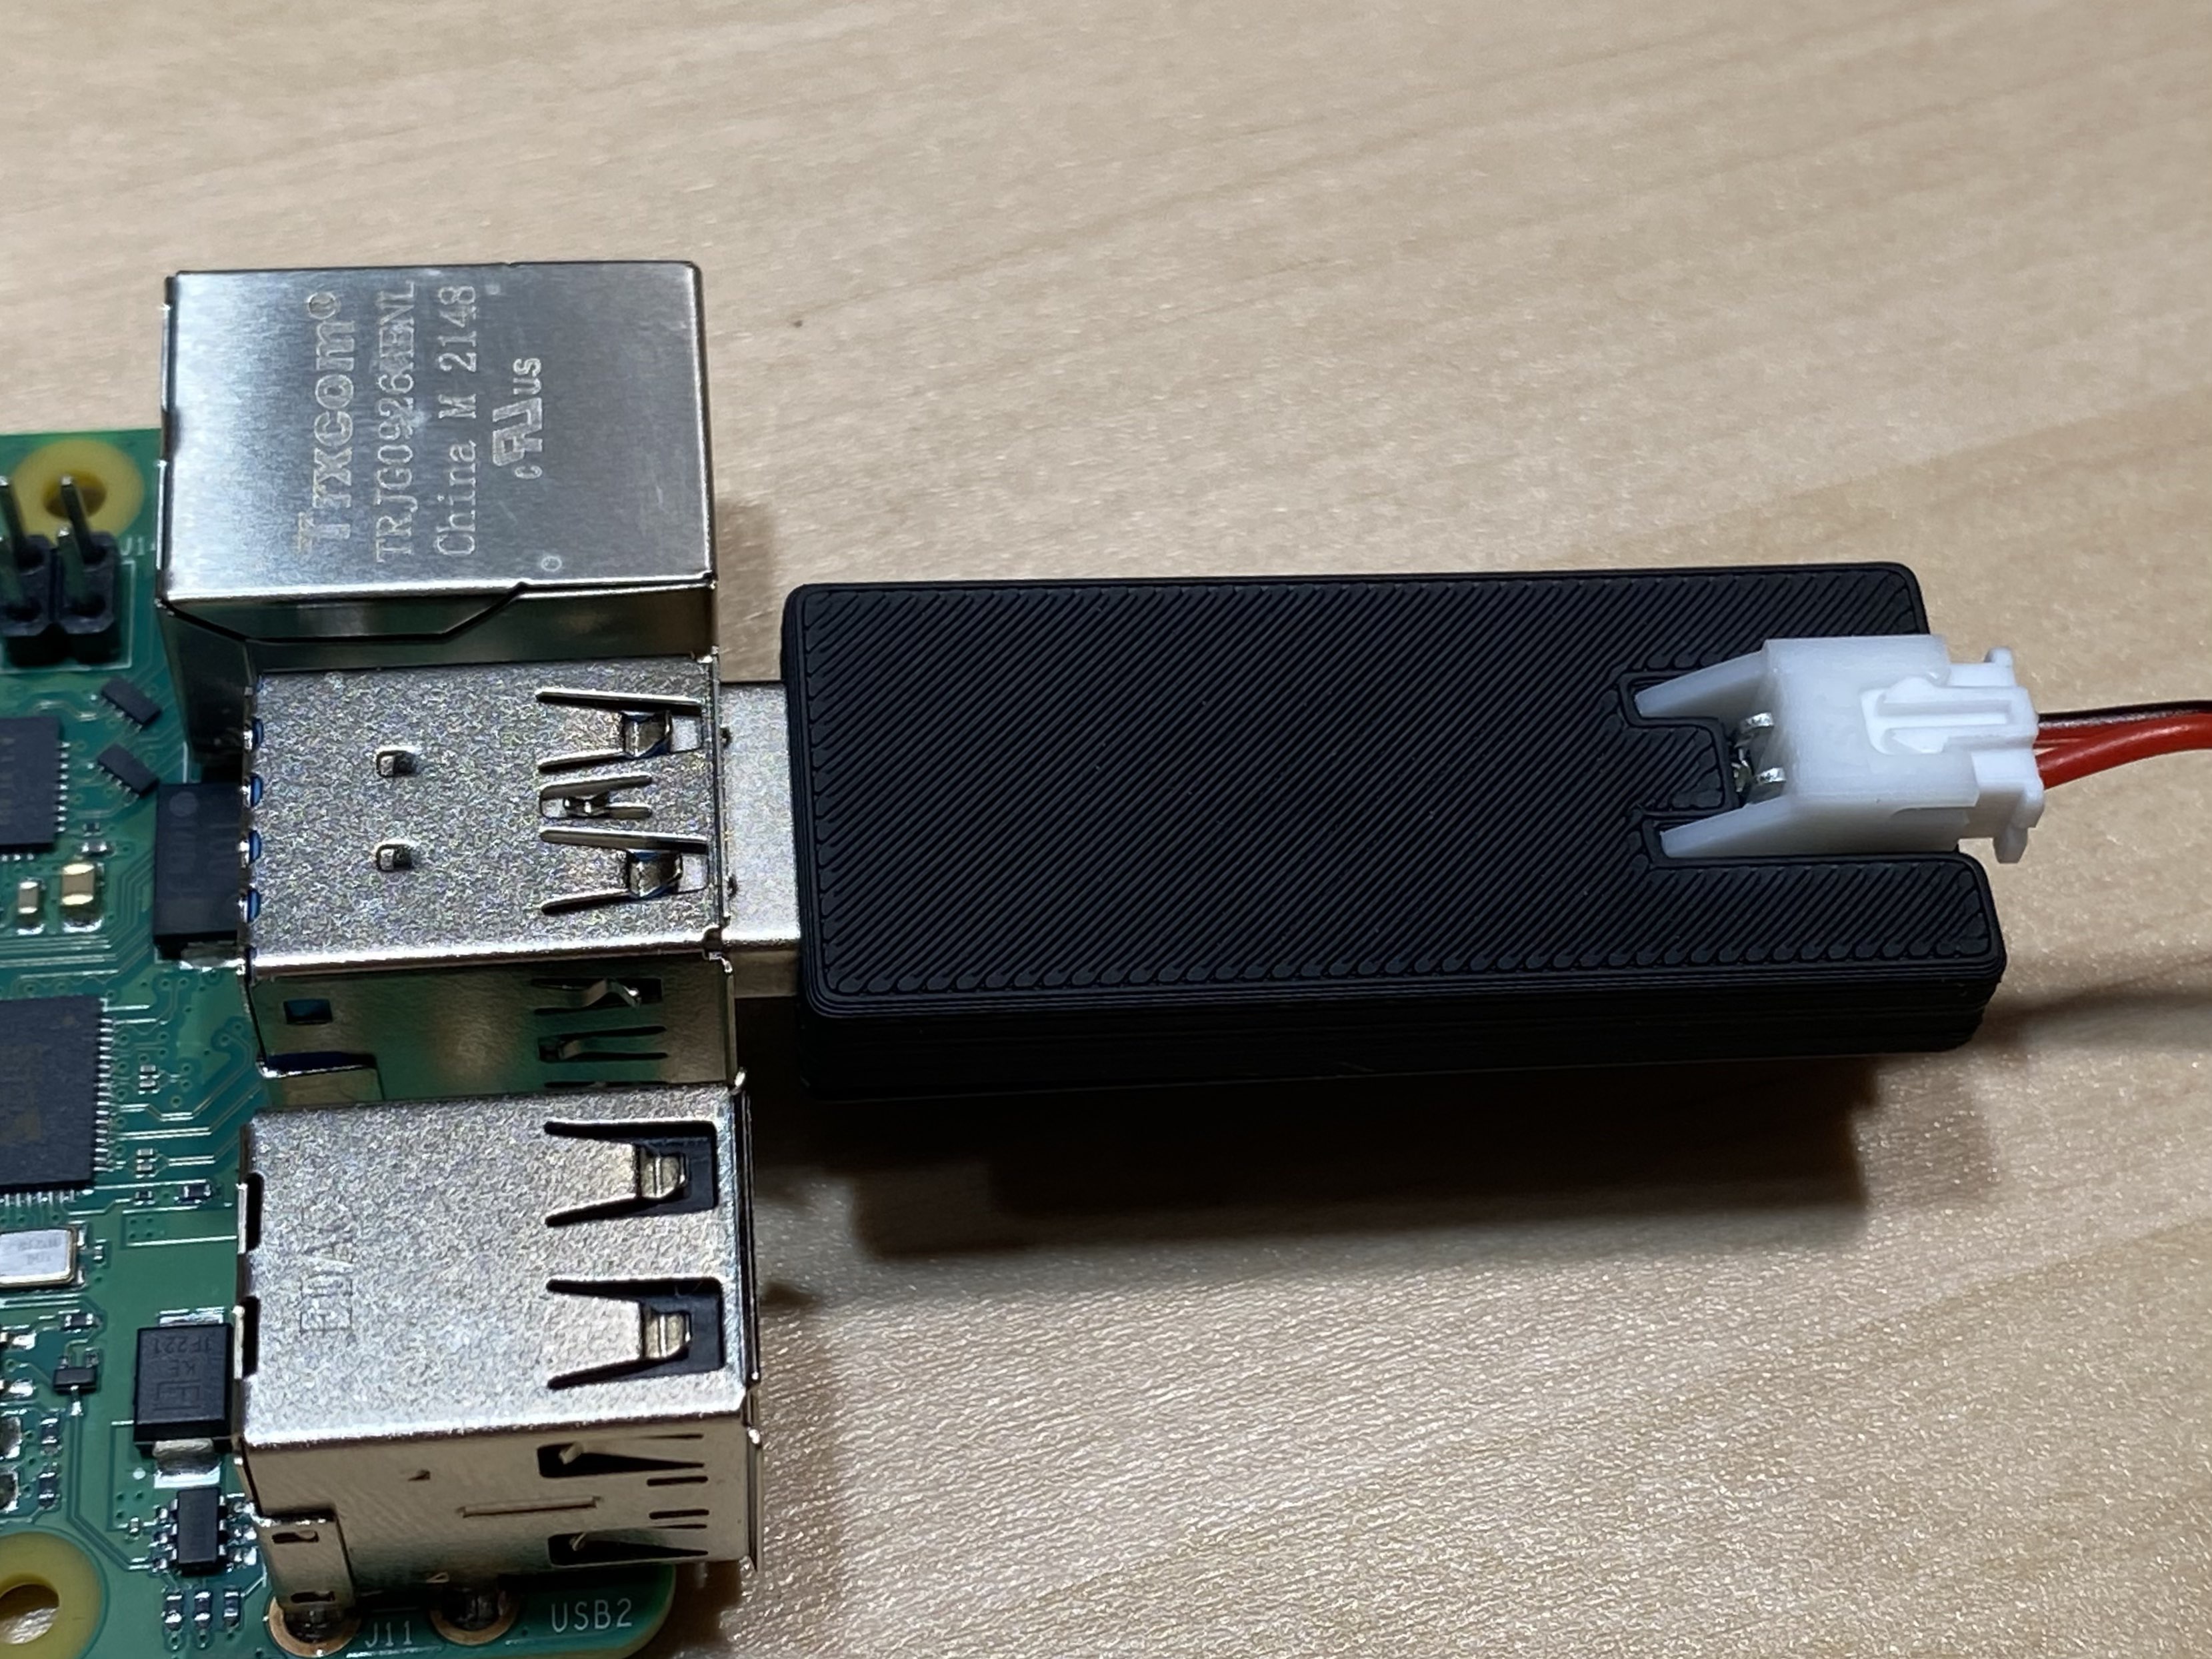
PiCAN is a compact, USB-drive-shaped USB-to-CAN adapter designed primarily for 3D printers running Klipper firmware.
Resellers
Isik's Tech (US-Based — Ships Globally)
United States
Canada
European Union
Australia
Firmware
Official PiCAN boards are pre-flashed
PiCAN boards sold by Isik's Tech arrive with firmware installed. Follow the flashing steps only if your board came from another source, has no firmware, or needs to be reflashed.
Flashing the Firmware
- Download the U2C firmware.
- Hold down the BOOT button on the PiCAN while connecting it to your computer.
- Download and install STM32CubeProgrammer.
- In STM32CubeProgrammer, select USB from the connection selector below Not connected in the upper-right corner.
- Click the refresh button beside the port selector, select USB1, and click Connect.
- Expand Device Memory, select Open File, and choose the firmware file you downloaded.
- Click Download to flash the firmware.
Wiring and CAN Setup
Connect the CAN wires as shown below:
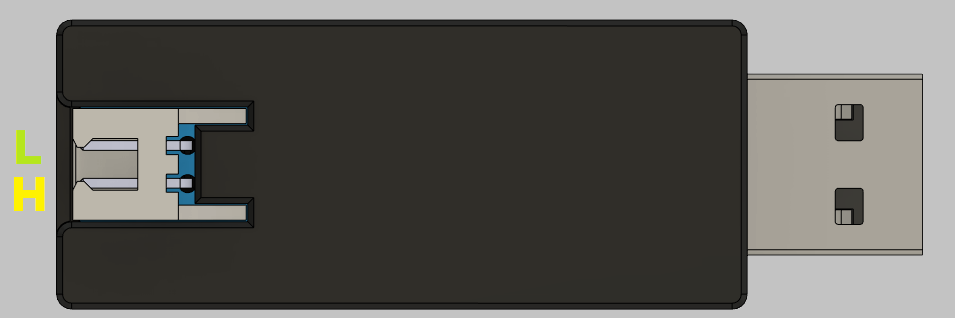
A common ground is required
Your Raspberry Pi and CAN devices must have their grounds connected. Devices powered from the same source should already share a ground. If you are unsure, disconnect power and verify continuity with a multimeter.
For CAN interface configuration and Klipper CAN device setup, follow the official Klipper CAN bus documentation.